Showing posts with label Christmas. Show all posts

Monday, December 15, 2014

Unique Gift Wrapping With May Arts!

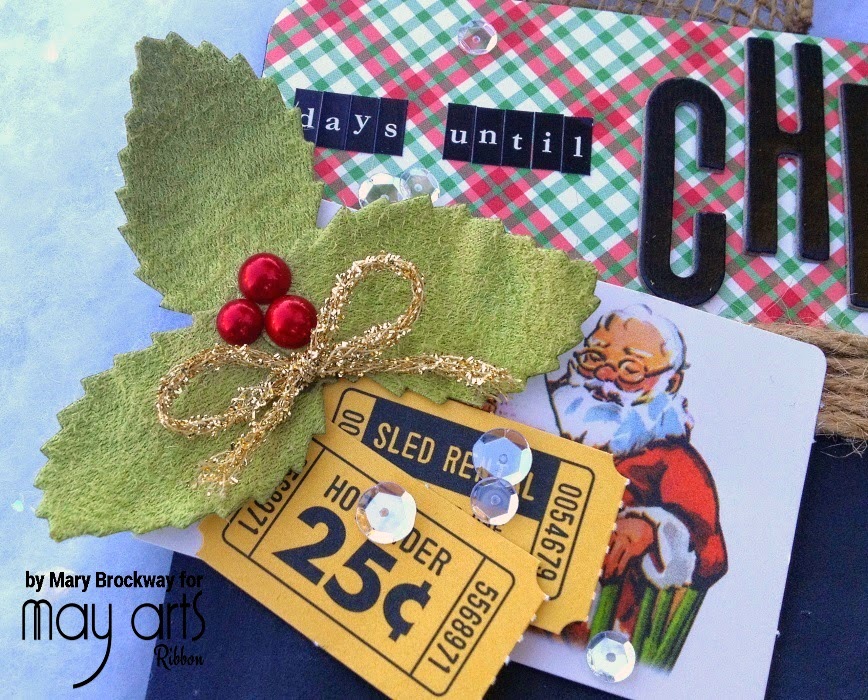
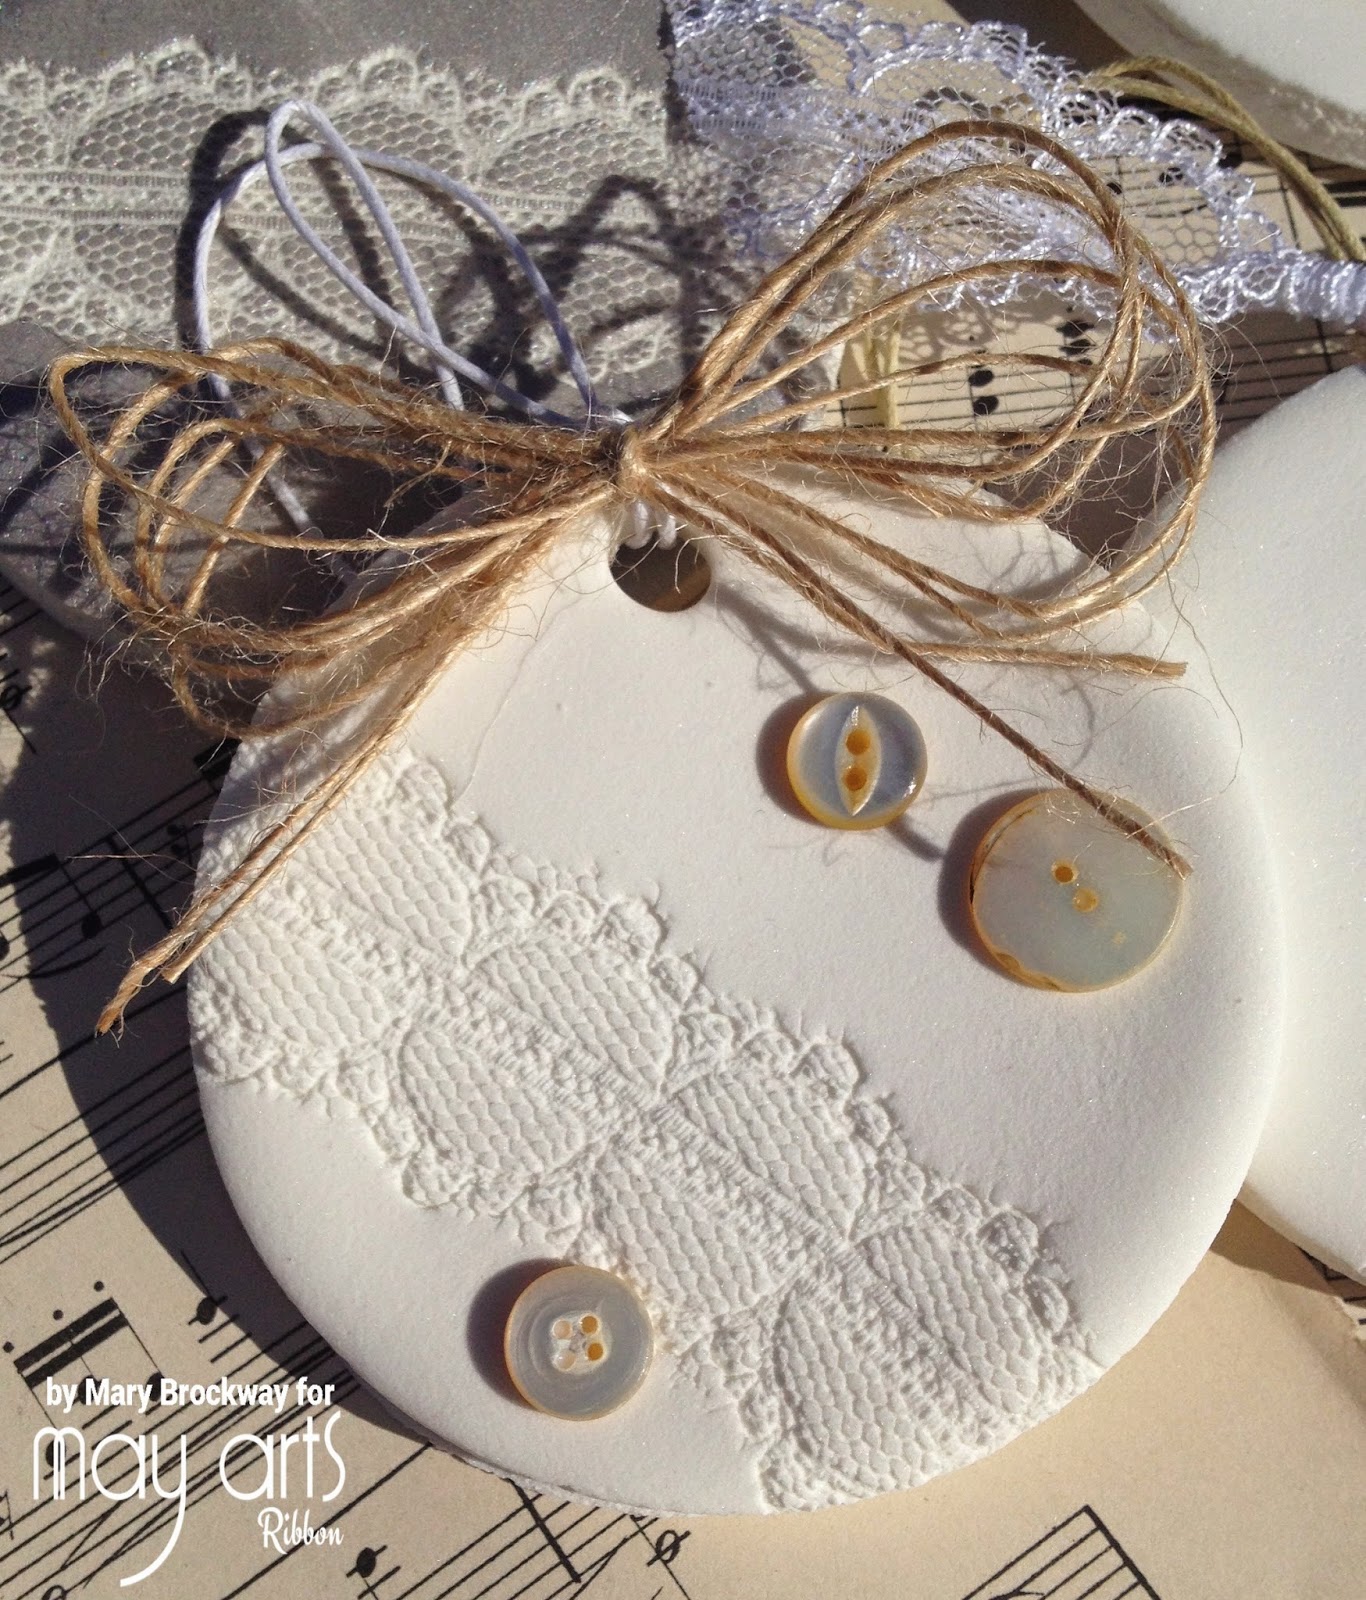
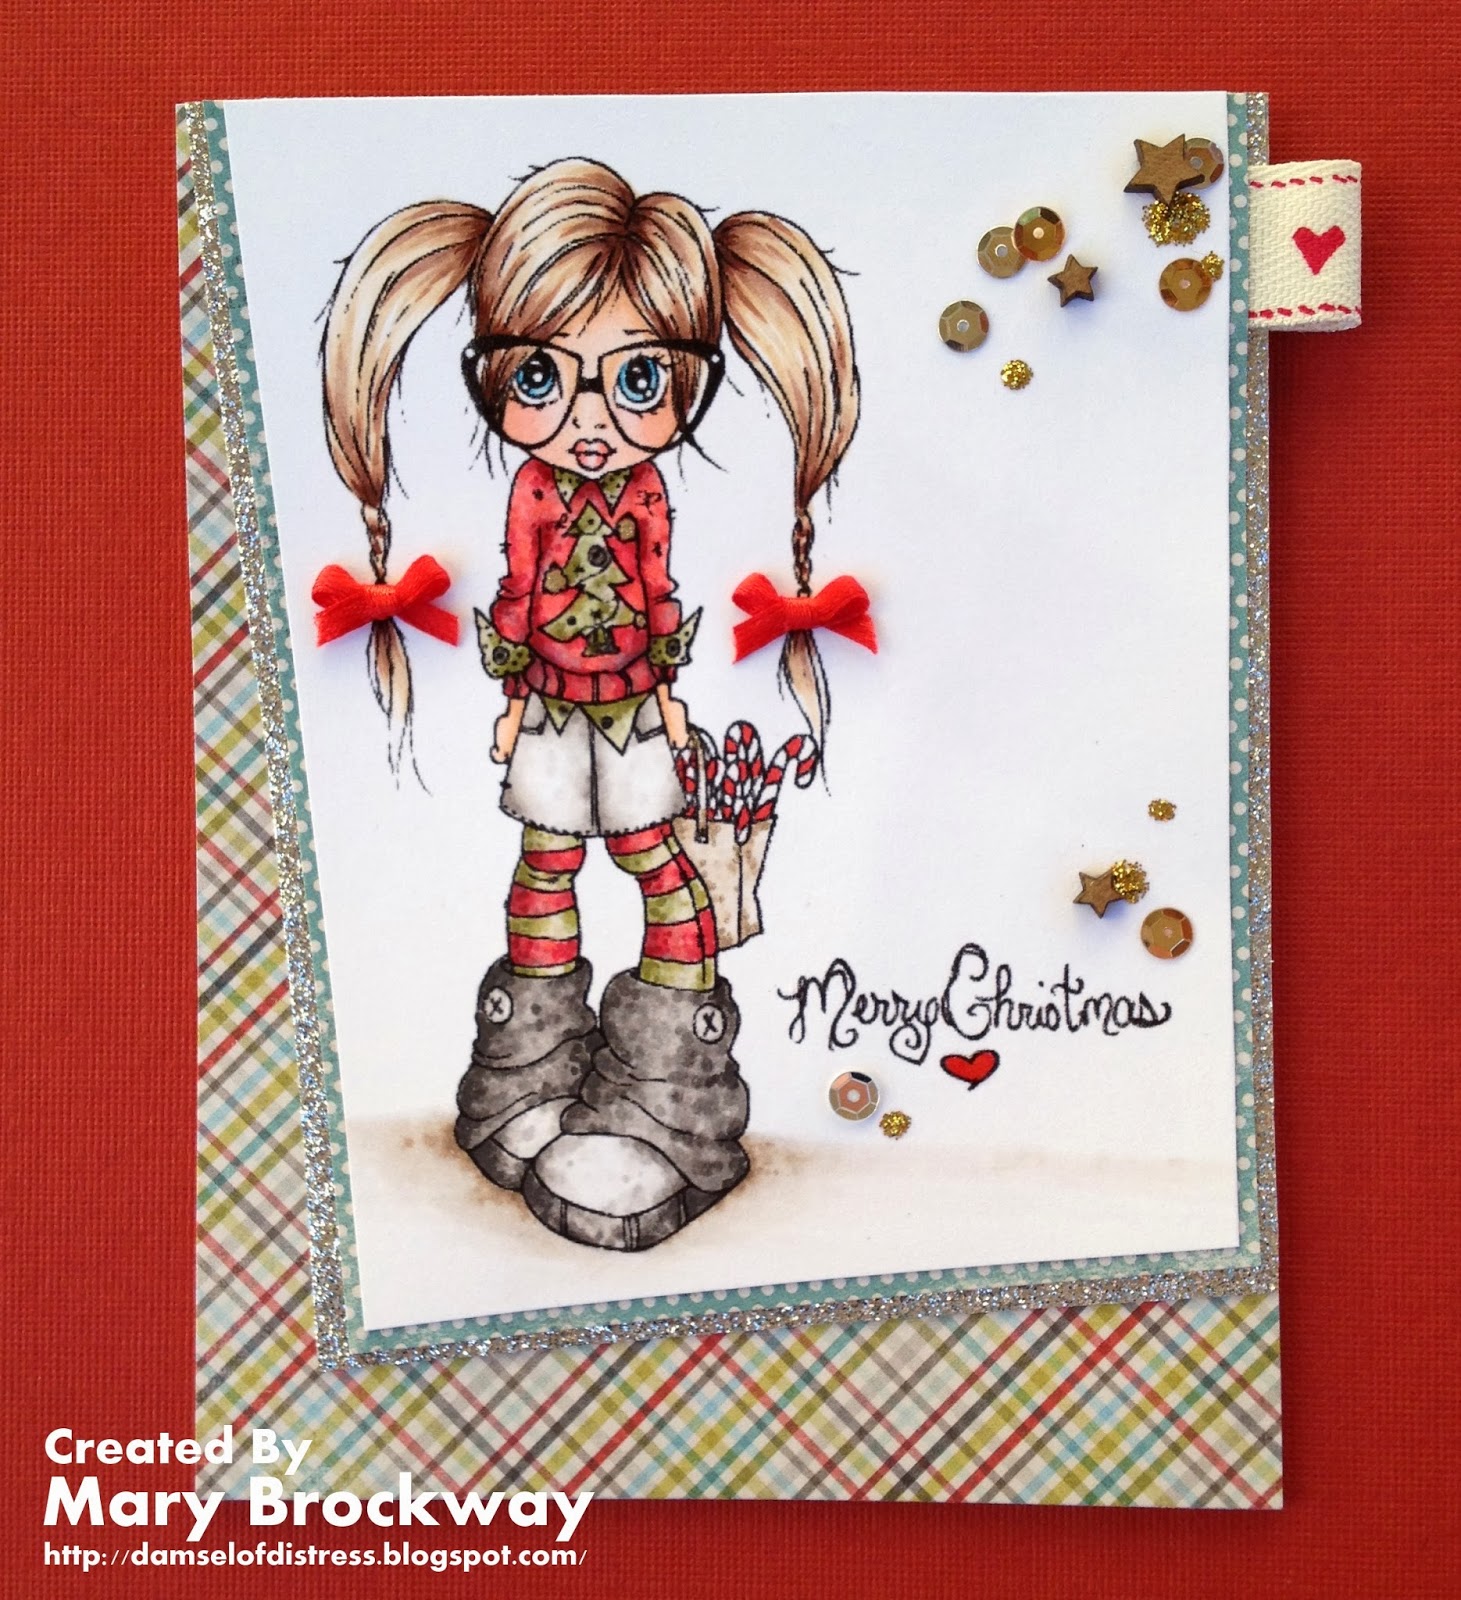
Hiya, Folks!!  Today, I'm hoppin' with May Arts as we explore all things Gift Wrap.  By the time you've finished this hop, we hope to have inspired you to grab your favorite ribbon and get your wrap on!


Although I do enjoy the hunt of finding that perfect gift, there are times when a gift card is a better option---soooo, I absolutely wanted to find a creative way to give the gift of plastic!  Here's what I've come up with...


I've combined two 8 inch lengths of the 1.5 inch Black/Ivory Striped Grosgrain ribbon with a bit of tacky glue.  If your ribbon is prone to fraying, a small amount dabbed onto the cut edge will keep those stray fibers in place.


Tri-fold your ribbon and give it a stitch along the left and right side edges to make a pocket.  A length of 1/4 inch Black Silk ribbon and an eyelet make the perfect closure!

Not only is this a quick solution to dress up a gift card, it's a 'perfectly pocket-sized pouch' for keeping cash, cards or photos in.

BAM!!

A gift in a gift :-)

Okay guys, that's it for me!!  Now, hop on over to Mallika's blog to continue with the hop.  If you've lost your way, a full listing of today's hoppers can be found back at the May Arts blog.

Thanks for stopping by!!

xx,

Thursday, December 11, 2014

Holiday Sweets With May Arts!

Hello!

Today, I'm hoppin' with May Arts in a totally sweet way!  We're sharing out best Holiday Sweet Treats along with some amazingly sweet (and ribbony!) packaging---'cuz everybody knows it's all about the packaging.  Well, maybe not all about the packaging, but it sure does make it feel a bit more special, no??

Here's what I've come up with...


I kinda have a thing for mason jars, and they're definitely a bit more sturdy than a cello bag, so I decide to decorate one up to hold my treats.


A few silver and gold stars from the Metallic Star Banner Ribbon stitched onto the Green Burlap/Wired Ribbon, bordered with Natural Burlap/Woven Ribbon and my jar was ready to fill.


I made a simple tag (with the recipe written on the back) and tied it on with a bit of my favorite Natural String Burlap Ribbon and my treats were ready to go!


Not only did I get to spend some time with my favorite girl, but now we have one SWEET gift for someone special.

May Arts supplies used;

Other supplies used:
Neenah white cards stock 
Ranger Distress Ink - Vintage Photo
Viva Las VegaStamps! - Victorian Flourish rubber stamp
silver bell

Oreo Cookie Balls:
1 - 16 oz package Oreo cookies (crushed)
1 - 8 oz softened cream cheese
coating chocolate (chocolate bark)
sprinkles

Mix the cookie crumbs and the cream cheese thoroughly.  Roll the mixture into walnut sized balls and chill for 30 minutes.  Dip the balls into melted coating chocolate and add sprinkles to the top while the chocolate is still soft.  Allow the chocolate to set up before packaging.  This recipe made approximately 24 balls.

Okay guys, that's it for me!  Your next stop along the way will be Jen.  If you've lost your way, hop on back to May Arts for the full list of hoppers.

Thanks so much for stopping by!!

xx,

Wednesday, December 10, 2014

Christmas Countdown Chalkboard.

Hiya, Folks!!

Today, I'm over on the May Arts blog with a VIDEO tutorial for this fab Christmas Countdown Chalkboard.

Here's a peek...


Wanna see how it all came together??  Hop on over to May Arts and check it out HERE!

Thanks for stopping by today!!

xx,

Sunday, December 7, 2014

Merry. A Hot Air Balloon Christmas Ornament Tutorial.

Hello!!  Today, I have a shabby and dimensional ornament (with VIDEO tutorial!) over on the May Arts blog!

Here's a peek...


It's super easy to make and looks amazing on any Christmas tree!  If you'd to grab the template I created for this ornament, you can find it HERE.  It's perfect for hand cutting or importing into your electronic cutting machine software for tracing to save your fingers some work.

Don't forget to hop on over to the May Arts blog to see my VIDEO TUTORIAL and get the details on all the supplies I used.

Thanks so much for stopping by today!

xx,

Friday, November 21, 2014

Lace Ornaments With May Arts!

Hello!!

Welcome, welcome to the end of our hop and my little corner of the blogosphere :-)  Today, we're hoppin' with May Arts to inspire you to create with those special kiddos in your life!

Yep---its all about the kids crafts.

And, as always, don't forget to comment on the projects you've seen in the last few days of this hop for a chance to WIN SOME YUMMY MAY ARTS RIBBON!!


Now, here's what I've come up with...

I stumbled along a fabulous recipe for a handmade clay and just had to give it a go.  It's a little bit corn starch, a little bit baking soda and a whole lotta awesome!!  Apparently, this recipe has been around for quite some time and it results in lovely, white ornaments that have almost a porcelain look.

Truly lovely!

Here's a peek at some of the ornaments my sweet baby girl and I whipped up using this soft, dreamy dough.


We've stamped each ornament with some super detailed May Arts lace, and embellished with our favorite ribbons/trims.  Love.

And the best part??

They glitter!!

Look at the lovely sparkle on our dried dough ornaments.  It's subtle and so pretty in person.  I've included the recipe below.


Here's my girls favorite.  Gotta love the girly pink, pink and purple!


And here's my favorite.  I guess we're not so different, after all :-)


This one was colored up with a bit of Delicata ink in Silver Shimmer.


Aaaaannnd, of course, I went a little shabby with some Natural String Burlap ribbon and a few vintage mother-of-pearl buttons.


This was definitely a fun adventure!  I think our ornaments are lovely and we had the best time playing with the dough and embellishing them when they were dry.  I can't wait to hang them on the tree. 

If you wanna see how these pretties were made in live action, take a peek at my video below!!


May Arts supplies used:

Other supplies used:
cornstarch
baking soda
vintage buttons from my stash

White dough recipe:
1/2 cup cornstarch
1 cup baking soda
3/4 cup water

Pour all ingredients into a medium saucepan on medium-low heat, stirring consistently.  Stir until the mixture starts to thicken and looks like mashed potatoes.

Remove dough from saucepan and put it in a bowl and cover with a damp towel.  Let cool approximately 30 minutes, until dough is at a comfortable temperature to touch.  Knead the dough thoroughly to get out any air bubbles.  Roll out dough 1/4" thick.

Cut out your shapes and let air dry.

Thanks so much for stopping by today.  I hope you've been inspired to grab your favorite kiddo, your favorite ribbon and get your craft on!!

xx

Thursday, October 16, 2014

A Christmas Card Hop With May Arts!

Hello and welcome to the May Arts Handmade Christmas Card Hop!!  I'm so happy to have you here in my little corner of blogland :-)

You should have come here via Rhea Weigand's fab blog.  If not, hop on back to May Arts to start at the beginning (and don't forget to comment for a chance to win TWO spools of ribbon from our Christmas Section).

Okay, now on with the show!!


My card was mega-inspired by the quilted tree skirts of holidays past...


I absolutely love the blocked look of a simple, quilted fabric creation---not to mention the fun, homespun feel that applique or topstitching adds.  So, after piecing together some patterned paper, I gave this card a little stitch!!

In silver, of course.


How lovely are those free-form stitched stars???  LOVE!


But, the total star of this show is the yummy silk ribbon bow.  I rigged myself up a bow jig and whipped up a lovely bow to grace the front.  I adore the 1.5 inch Metallic Star Ribbon Banner Ribbon and had to snip off a single star to add a touch more sparkle---'cuz what's a Christmas card without sparkle?!!?

I think the silver sets off this slightly non-traditional Christmas palette, no?

May Arts supplies used:

Other supplies used:
Teresa Collins 6 inch Noel paper pad
Recollections black cardstock
Recollections sticker alphas
Aleene's tacky glue

Ok, guys---that's it for me!!  Now, hop on over to our next stop on this hop and see what Mallika Kejriwal has in store.

Thanks so much for stopping by!!

xx,
 

Saturday, December 7, 2013

LSG & 7 Dots Studio Creative Hop

Welcome to LSG & 7 Dots Studio Creative hop!
 
We are so excited to have two amazing companies team up for a full day of creativity.  This hop will surely get your creative juices flowing so head on over to all these incredibly talented crafters to check out how they've combined the beautiful lines by 7 Dots Studio with Lindy's Stamp Gang products---it's a match made in color heaven!
 
We have a little surprise for you!
 
We would love for you to show some love to all our crafters and leave them a little message. You will have the opportunity to win a fabulous prize by both 7 Dots Studio and Lindy's Stamp Gang so please let us know that you have done so by coming back to 7 Dots Studio and Lindy's Stamp Gang blog at the end of the hop.
 
At the bottom of my post is a full list if you get lost along the way.
 
Here's what I've come up with...
 
This sweet little shaker box ornament is packed FULL of LSG and 7 Dots Studio LOVE!!  And snow.  'Cuz what's a shaker box without a bit of snow?
 
 
I chose to use a neutral paper with just a few pops of Lindy's vibrant color and sparkle for the inside.  DIG the color and glitter on that bottle brush tree!
 
 
And here's the back...

 
Lovin' all those layers!
 
7 Dots Studio paper is rockin' some of the best texture around.  Add to that  a touch of Lindy's Starburst sprays and stitching??
 
Divine!!
 
 
I'm a big fan of soldering, but wanted to find a way to create the look of a soldered piece that even my non-soldering crafty friends could manage.
 
Enter washi tape!
 
A bit of lightweight acrylic, washi tape and some GLITTER later and I had myself a hand-crafted ornament that would make any soldering gun jealous ;-) 


Here's a list of product I've used:
 
 
Aaaaannnd, here's a list of all the stops along our hop:
 
 
Ok Folks, that's it for me!  Thanks so much for stopping by today.  Now, get back to HOPPIN'!!
 
 Have FUN!!!
 
xx,

Sunday, December 1, 2013

SNOW.

Hiya, Folks!! 

Today, is the very first day of the brand new December Color Challenge over on the Lindy's Stamp Gang blog! 

This challenge will run the entire month of October.  And as a bonus, those that play along and share their creations with Lindy's via Facebook, Twitter, Instagram or linking up with the Color Challenge, may find themselves featured on the Lindy's blog in one of the 'Feature Friday's'.  Those who are featured on the blog will receive an email with a 20% off coupon to use at a time of their choosing.

Here's this month's color palette...

http://www.facebook.com/l.php?u=http%3A%2F%2Flindystampgang.wordpress.com%2F2013%2F12%2F01%2Fdecember-color-challenge%2F&h=qAQESQLy4

Super rich and festive, right??!?

Love all the jewel tones!!  Makes me wanna bust out my some purple velvet and reupholster some stuff ;-)

Ready to get your color on?

The Rules:
  1. Help us spread the word! Share our color challenge graphic in your blog post and link to the Lindy’s Stamp Gang blog  http://lindystampgang.wordpress.com , where the challenge can be found. For every 50 people that enter, we’ll have one giveaway! So 100 entries=2 giveaways.
  2. Use Lindy’s Stamp Gang products! You can use, StarburstsFlat FabiosMoon ShadowsGlitz SpritzMagicalsEmbossing PowdersMica Powders… any of our stampslaser cut-outs, or brass charms.
  3. Use a minimum of two colors in the color challenge. You’re welcome to add neutrals, white, black, grey and brown.
  4. Link the Lindy products you used to the Lindy’s Stamp Gang store, like this: Hibiscus Rose.
 Easy Peasy, right??

Here's what I came up with...

This wintery card features some fun and frosty stamping, using Lindy's as the ink!  I love the soft watercolor look it gives...


 A bit of glitter altered up these alphas to give them the sparkle a proper Christmas card needs, and a bit of glitter splatter adds even MORE shine!


Vellum embellies soften the color and adds to that 'frosted' feel of my stamping, while a bit of doodling helps fill a bit more of the white space.

Here's a list of all the Lindy's goodness I've used:
Aaaannnd, if you wanna see how it all came together, here's a little process video I've whipped up...

And that, my friends, is that.
Thanks so much for stopping by!!  I'll see ya next time :-)
xx,

Tuesday, November 26, 2013

Ugly Christmas Sweater.

Hello!!
 
Today, I have a quick Christmas card for you :-)
 

This CAS card features the Saturated Canary image [Ugly] Christmas Sweater.  How adorable is she?!!?
 
Makes me wanna go buy an over-the-top ugly Christmas sweater of my very own. 


As I said, this card is truly clean and simple, with only a sprinkling of goodies along the side.  And DIG those teeny tiny stars!!!  They're from the Star Confetti pack from UmWowStudio.  LOVE me some teeny tiny stars.
 
Just sayin'.
 
And here's a close-up of Miss Ugly Sweater, herself...


If you wanna see how this card came together, here's a little video for ya...


Alrighty, guys that's it for me!!  Thanks so much for stoppin' by.
 
I'll catch you on the flip side ;-)
 
xx,

Sunday, December 30, 2012

O' Christmas Tree!

 Hi, Everyone!! 

I hope your Holiday's have gone swimmingly, thus far!!  Other than a few buggies caught by myself, my Hubby and my internetz, all has been peachy 'round here.

I'm still diligently working away on my December Daily and choosing to turn a blind eye to all the 'toy shrapnel' lingering around my house.  I mean, really---how often do you get to see your Hubby hopscotch through the living room, trying to avoid Monster High doll accessories??  It's entertaining, to say the least!!  I suggested we install a few ropes to the ceiling and Tarzan swing our way across...

Aaahhh, well!  It coulda been EPIC!!!

Anywhoooo, here's a quick look at one of my December Daily pages :-)  I'm so in love with The Octopode Factory's Alice in Wonderland Dormouse on this page!!  It totally adds that 'not a creature was stirring' vibe.


If you enjoy a good challenge, The Octopode Factory's challenge blog is right in the middle of their Anything Goes challenge!!  Now, I'm off to link up!!

Catch ya on the flip side!!

xx, 


Tuesday, December 11, 2012

It's A Wrap!

Good Morning!!  I have a little gifty...
 
But, this is no ordinary present.
 
This one packs some serious POW!!
 
 
Are you familiar with the explosion box??  I LOVE the concept!  A box that isn't a box.  The possibilities are endless!! 
 
Imagine the multitude of goodies that could be included :-)  Candles, candies, gifts, scenes.  You could even make it move!!!
 
The pretty girl in my little scene is Cocoa, one of the soon to be released Saturated Canary rubber stamps.  You can pre-order this cutie HERE

 
Now remember, I'm a scrapbooker.  Not a dedicated one, but a scrapbooker, nonetheless.  Even so, there are times I just wanna print my photos and display them in a fun, 3D way!  Like a mini album with a twist :-)
 
So here's my solution.  A compromise of sorts.  POCKETS.
 
Each of the sides feature a pocket for holding tons of 4 by 6 photos.  SCORE!! 


And finally, here's Cocoa's money shot :-)


So, after completing this fun project, my girl was full of oooooh's and ahhhhhhhh's.  I think she want's a box of her own.  She's a superfan of coloring, but still thinks I shoulda shrunk her down and stuck her in the box instead, hahahahaa!! 
 
Hmmmm.  Now that's an idea...
 
Oh!  And if you wanna see this box come together in FULL ON tutorial style, check it out HERE!!
 
xx,