Showing posts with label IMAGINE Crafts. Show all posts

Sunday, December 7, 2014

Merry. A Hot Air Balloon Christmas Ornament Tutorial.

Hello!!  Today, I have a shabby and dimensional ornament (with VIDEO tutorial!) over on the May Arts blog!

Here's a peek...


It's super easy to make and looks amazing on any Christmas tree!  If you'd to grab the template I created for this ornament, you can find it HERE.  It's perfect for hand cutting or importing into your electronic cutting machine software for tracing to save your fingers some work.

Don't forget to hop on over to the May Arts blog to see my VIDEO TUTORIAL and get the details on all the supplies I used.

Thanks so much for stopping by today!

xx,

Wednesday, November 26, 2014

Learn.

Hello!

I've got a little somethin' somethin' over on the May Arts blog today :-)

Here's a peek...


If you wanna hear all about this little box and a bit about how it was created, hop on over to May Arts  and check it out.

Thanks so much for stoppin' by!

xx,

Friday, November 21, 2014

Lace Ornaments With May Arts!

Hello!!

Welcome, welcome to the end of our hop and my little corner of the blogosphere :-)  Today, we're hoppin' with May Arts to inspire you to create with those special kiddos in your life!

Yep---its all about the kids crafts.

And, as always, don't forget to comment on the projects you've seen in the last few days of this hop for a chance to WIN SOME YUMMY MAY ARTS RIBBON!!


Now, here's what I've come up with...

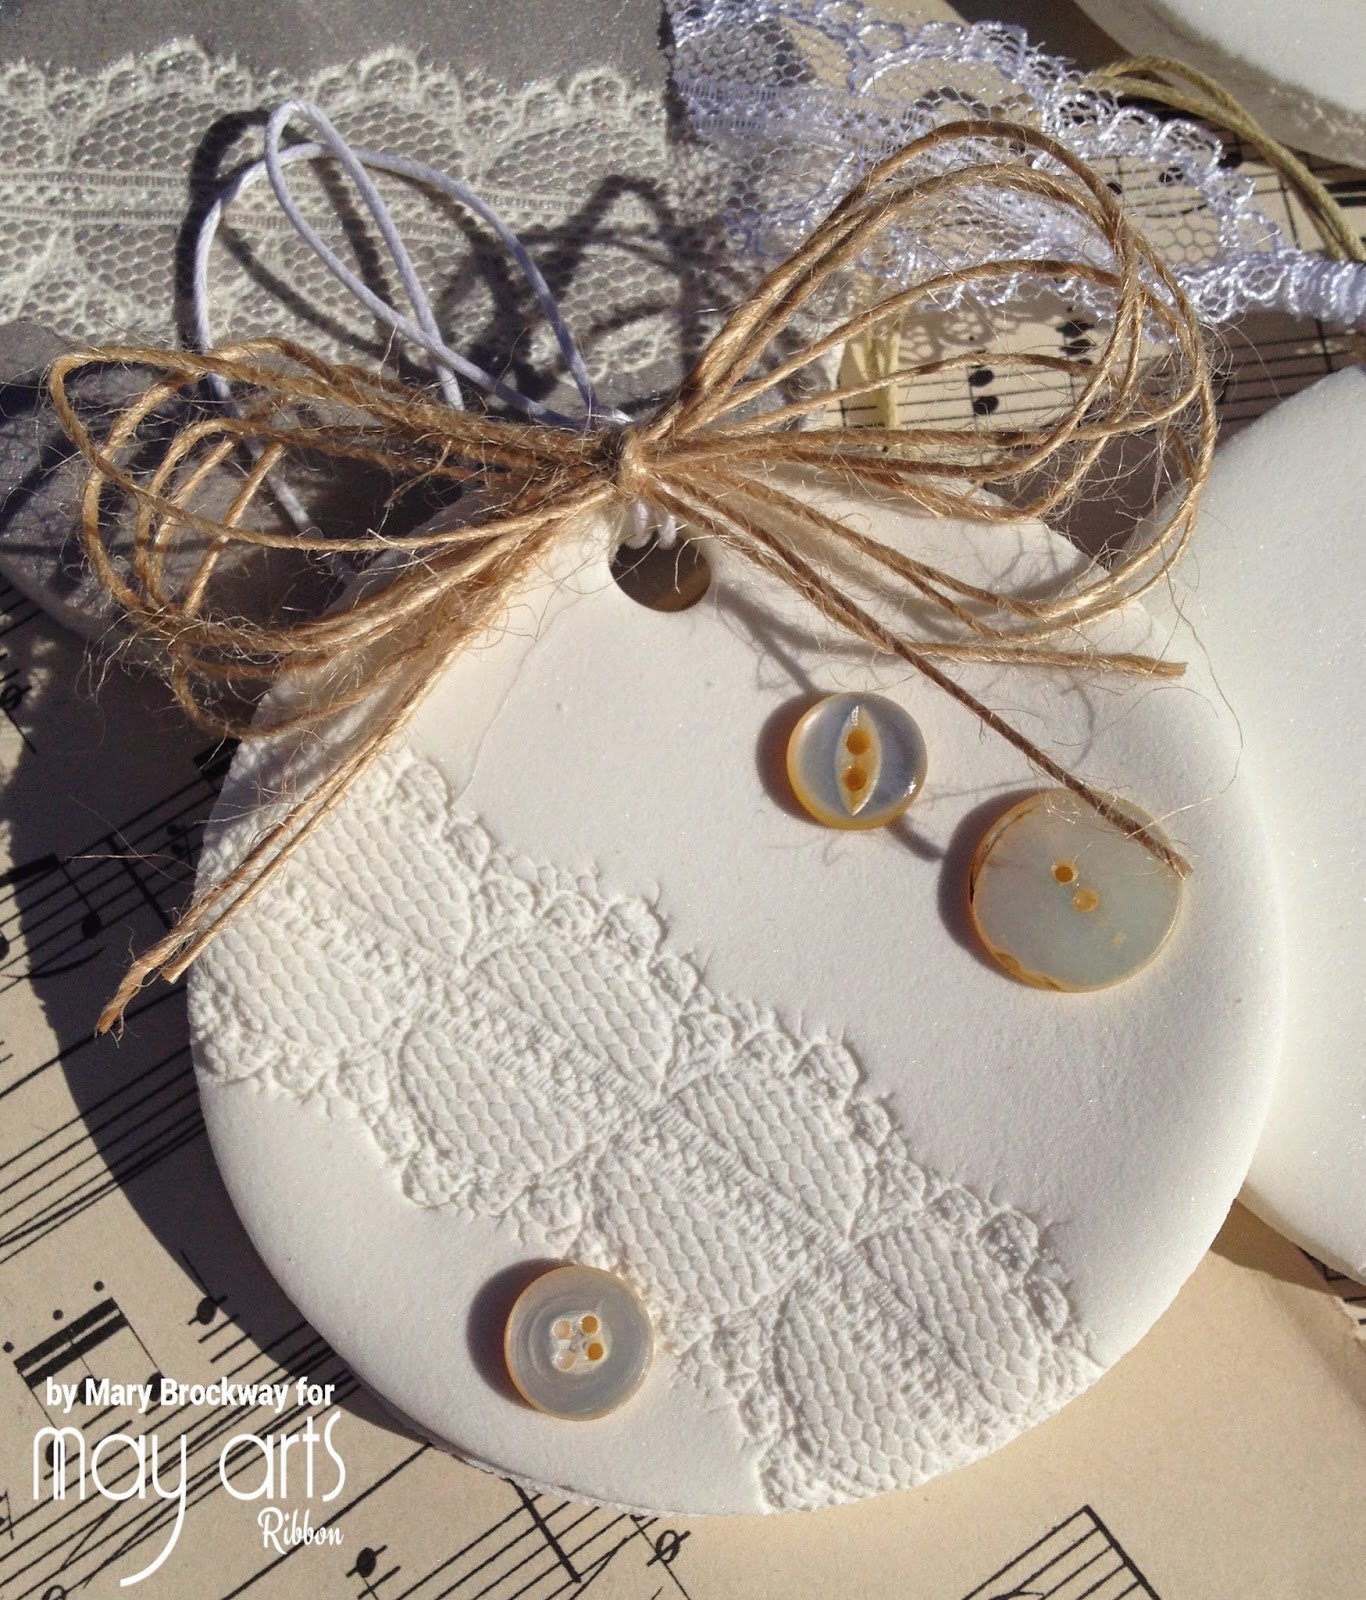
I stumbled along a fabulous recipe for a handmade clay and just had to give it a go.  It's a little bit corn starch, a little bit baking soda and a whole lotta awesome!!  Apparently, this recipe has been around for quite some time and it results in lovely, white ornaments that have almost a porcelain look.

Truly lovely!

Here's a peek at some of the ornaments my sweet baby girl and I whipped up using this soft, dreamy dough.


We've stamped each ornament with some super detailed May Arts lace, and embellished with our favorite ribbons/trims.  Love.

And the best part??

They glitter!!

Look at the lovely sparkle on our dried dough ornaments.  It's subtle and so pretty in person.  I've included the recipe below.


Here's my girls favorite.  Gotta love the girly pink, pink and purple!


And here's my favorite.  I guess we're not so different, after all :-)


This one was colored up with a bit of Delicata ink in Silver Shimmer.


Aaaaannnd, of course, I went a little shabby with some Natural String Burlap ribbon and a few vintage mother-of-pearl buttons.


This was definitely a fun adventure!  I think our ornaments are lovely and we had the best time playing with the dough and embellishing them when they were dry.  I can't wait to hang them on the tree. 

If you wanna see how these pretties were made in live action, take a peek at my video below!!


May Arts supplies used:

Other supplies used:
cornstarch
baking soda
vintage buttons from my stash

White dough recipe:
1/2 cup cornstarch
1 cup baking soda
3/4 cup water

Pour all ingredients into a medium saucepan on medium-low heat, stirring consistently.  Stir until the mixture starts to thicken and looks like mashed potatoes.

Remove dough from saucepan and put it in a bowl and cover with a damp towel.  Let cool approximately 30 minutes, until dough is at a comfortable temperature to touch.  Knead the dough thoroughly to get out any air bubbles.  Roll out dough 1/4" thick.

Cut out your shapes and let air dry.

Thanks so much for stopping by today.  I hope you've been inspired to grab your favorite kiddo, your favorite ribbon and get your craft on!!

xx

Thursday, September 25, 2014

May Arts Hops With Authentique and Imagine Crafts!


Good Morning!!

Welcome to my little corner of the blogosphere as we jump headlong into day 4 of hoppin'.  Today, I get to share a sweet and summery project I've created with a combination of  goodies from three amazing companies---May Arts, Authentique and Imagine Crafts :-))  Kinda fitting to pay homage to a summertime adventure as we transition into cooler temps, no??

Ok, onto the goods!!

This mini was completely inspired by the summery color palette in the Radiant collection by Authentique.  It's packed full of bright colors and practically screams, 'Here Comes The Sun'!


I've covered some of the paper with May Arts 4 inch burlap wired ribbon in the Light Natural color to add a bit of fun texture to my cover.


A quick dip into Golden Glitz Delicata ink gave a lovely sparkle to UmWowStudio chippies.  I love how they add just a touch of shine.


Ok guys, be sure to check back in a bit for a peek at the inside of my book.  For now, hop on over and visit Mallika to see the rest of today's lineup, and don't forget to check out the inspiration from days 1-3 by hopping back to May Arts!  Remember to comment on each of the DT's posts for a chance to win one of THREE prizes!!

May Arts Products Used:

Other Products Used:
UmWowStudio Circle Confetti
clear sequins
white vellum

Thanks so much for stopping by today!!

xx,

Thursday, May 29, 2014

IMAGINE Crafts & Viva Las VegaStamps!

Hiya, Folks!!  Today, the week of VLVS! and IMAGINE Crafts hoppin' lands on my little 'ol blog :-))

Mixed Media Blog Hop 

 Welcome to the IMAGINE Crafts and Viva Las VegaStamps! Blog Hop.  For the next week, our two design teams will be featuring some amazing projects featuring products from both our companies.   Amazing stamps require amazing ink, right?

Mixed Media Prize Package

We're proud to announce your chance to win one of three different Mixed Media Prize Packages from IMAGINE Crafts and Viva Las VegaStamps!  You have until midnight PST on Sunday, May 31st 2014  to comment on as many of the Design Team Blog Posts from this week as possible. On Monday, June 1st  we’ll draw three random blog posts and one comment from each of those posts will win a prize package!

Ready for some inspiration from our artists?

Here's today's posts from IMAGINE Crafts:

And from Viva Las VegaStamps!:


 If you're just joining us on the Mixed Media Blog Hop, here' the links to the previous days posts: Saturday, Sunday, Monday, Tuesday, Wednesday   ***Blog Hop Hint – if you click on a link that takes you to a page saying something like, “Sorry this page cannot be found” just click on the header at the top of the blog (usually a picture or the blog’s name) and it will take you to that blog’s most recent post. That post *should* be our hop. If not, you can probably scroll down a short way to find the hop post.

And now, on with the goods!!  Here's what I came up with...

I've really been diggin' fabric lately, so I wanted to see how a few of the lovely Memento Luxe inks played with muslin.  I just dabbed some of the Rose Bud and Dandelion inks onto a  plastic plate, added a touch of water and dropped it on!  The colors stayed true and I LOVE the bits of orange that was created where the two mixed.


To jazz up this simple embroidery hoop, I've given it a gentle whitewash with some watered down white paint and stamped it here and there with the Waybill/Invoice Background stamp in StazOn Jet Black ink.  I also took a few of the muslin scraps and stamped it with the same stamp.  I absolutely love the shabby ribbon look it created!!


To create these pretty vellum butterfly embellies, I stamped the Butterfly Specimens stamp with Memento Luxe ink in Tuxedo Black and then embossed it with Ultra High Gloss Embossing Powder.  A little more of the Rose Bud and Dandelion ink applied on the back with a Sponge Dauber, and they were ready to stick down!


The chippies were also embossed after I colored them up with the Delicata Golden Glitz ink.  While trying to heat them up, a couple of the letters flipped over and a bit of the embossing powder came off.  It created this really fun texture---so I went with it!


I gotta say, I'm super in love with this layout!!  I guess it doesn't hurt that it's rockin' the face of the cutest little girl I know :-)))


Thanks so much for stoppin' by!!

xx,